Alcatel OmniPCX Entreprise VMware appliance
![]() Run the OmniPCX Enterprise in the VMware environment and benefit from virtualization for :
Run the OmniPCX Enterprise in the VMware environment and benefit from virtualization for :
Detailed installation procedure
Limitations :
![]() Run the OmniPCX Enterprise in the VMware environment and benefit from virtualization for :
Run the OmniPCX Enterprise in the VMware environment and benefit from virtualization for :
![]() This is a step by step guide for installing the OmniPCX Entreprise software in a VMware environement which can prove very useful for testing, training & support purposes.
This is a step by step guide for installing the OmniPCX Entreprise software in a VMware environement which can prove very useful for testing, training & support purposes.
The VMware environment used here is VMware workstation 5.5 but other flavours should be working as well
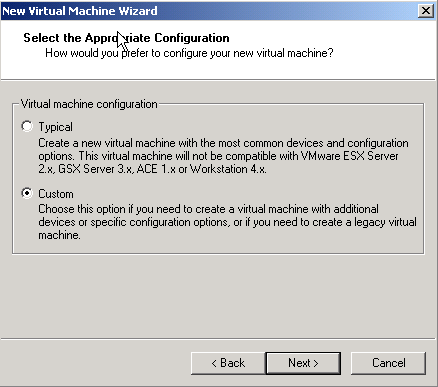
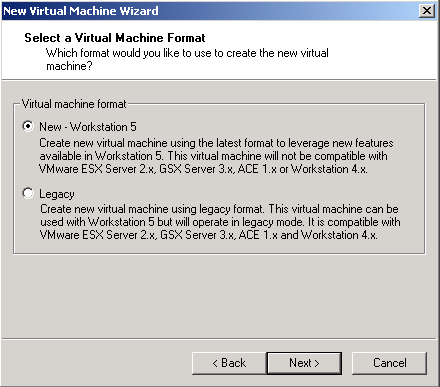
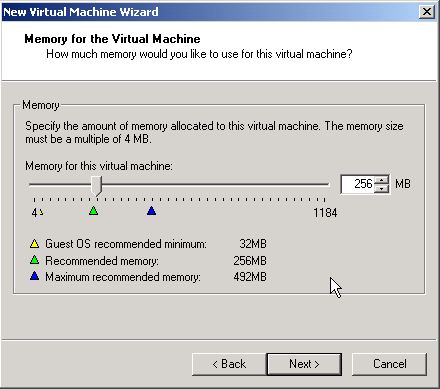
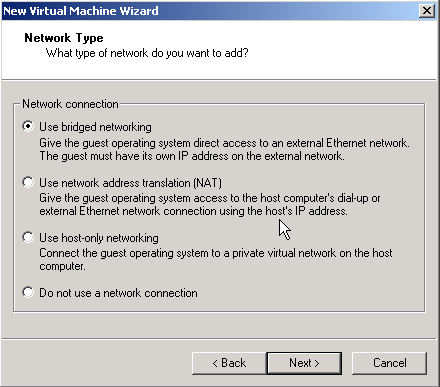
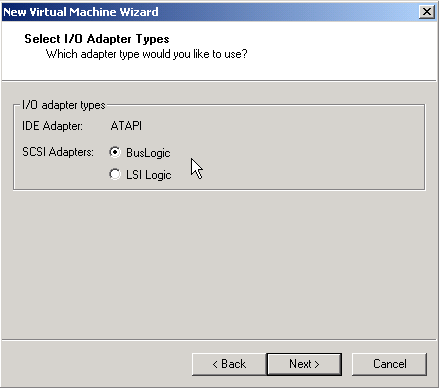
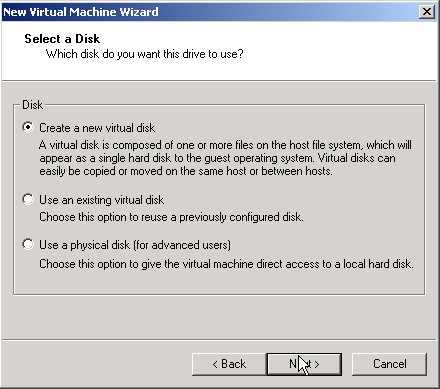
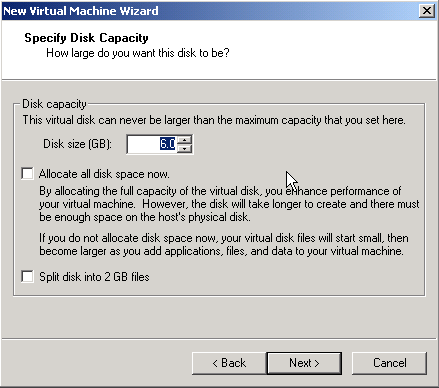
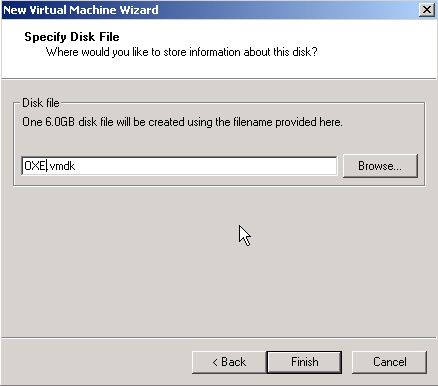
Step 1 : Create a new virtual machine with the VMWare wizard


Step 2 : Configure a serial port on the VMware host
Configure a serial port either mapped to the host physical port or to a named pipe for remote access.


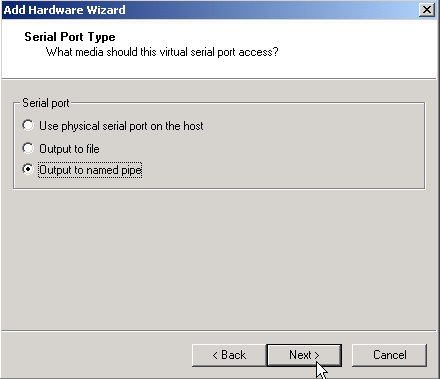
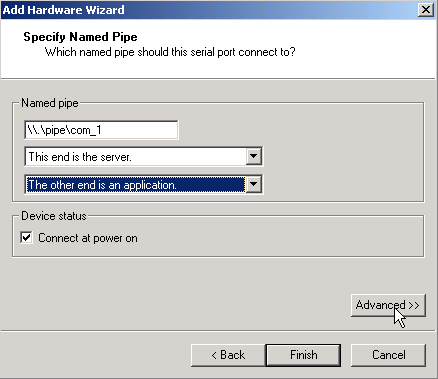

For serial port mapping to named pipe, use vmwaregateway or NPTP (named pipe tcp proxy) on the host to map the named pipe to a tcp port for convenient access from your favourite telnet program.
Named Pipe TCP Proxy
VMware Named Pipe to TCP Gateway
Below is presented a snapshot of the NPTP configuration :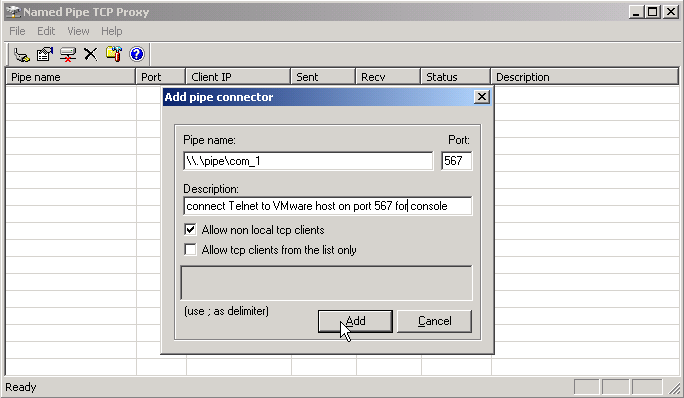
Step 3 : Configure the OmniPCX Entreprise Installer
If you don’t change the .vmx file settings to use a static address, start & stop your VM to have it generated. You can read it directly on the VMware console screen or in the .vmx file.
Then configure the OmniPCX Installer. The call server type can be either "Appliance server" or "Blade server"(recommended).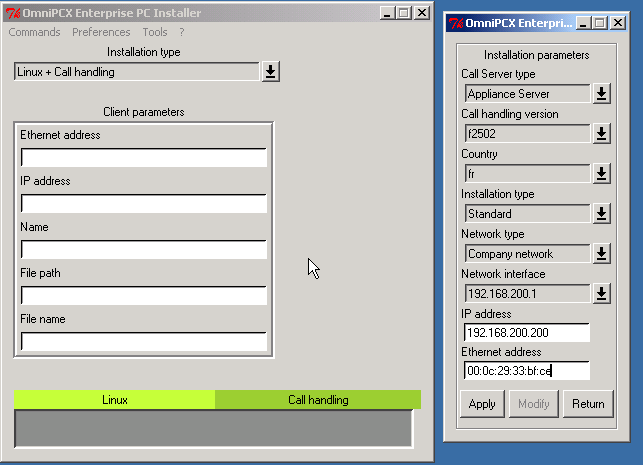
Step 4 : Start your Virtual Machine
It will boot from the Network and load the linux and binaries for the telephone application.
Up to R6.1.1, there is nothing else to do but wait for the installation process to complete.
From R7, the network interface is no longer working after the linux has loaded so a few additional commands need to be entered by hand to have the system up and running.
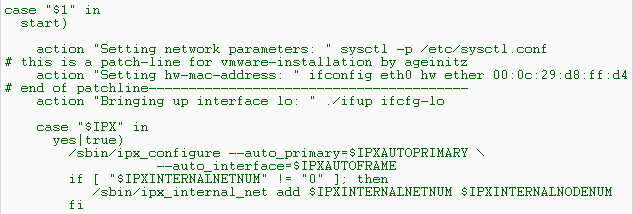
When the installation process is over, your VMware console screen should be looking like this :

Step 5 : Configure the PBX
You can now connect on the V24 console port of the PC or telnet the Named pipe TCP proxy to perform the configuration of the PBX : netadmin, database creation, etc... and insert your OPS in the system. Due to the mismatch between the VMware UUID & the CPU-ID, you have 30 days to go.
Step 6 : When the 30 days period has elapsed...
The painful way : either create a new empty database and reconfigure it from scratch or go through this installation process again and restore your existing database
The painstaking way : submit a CPU-ID reallocation request to Alcatel and update your OPS configuration file ;)
The smart way : renew the 30 days period by renaming /usr3/mao/software.mao to /usr3/mao/software.old, then reboot. Do it again the other way around.